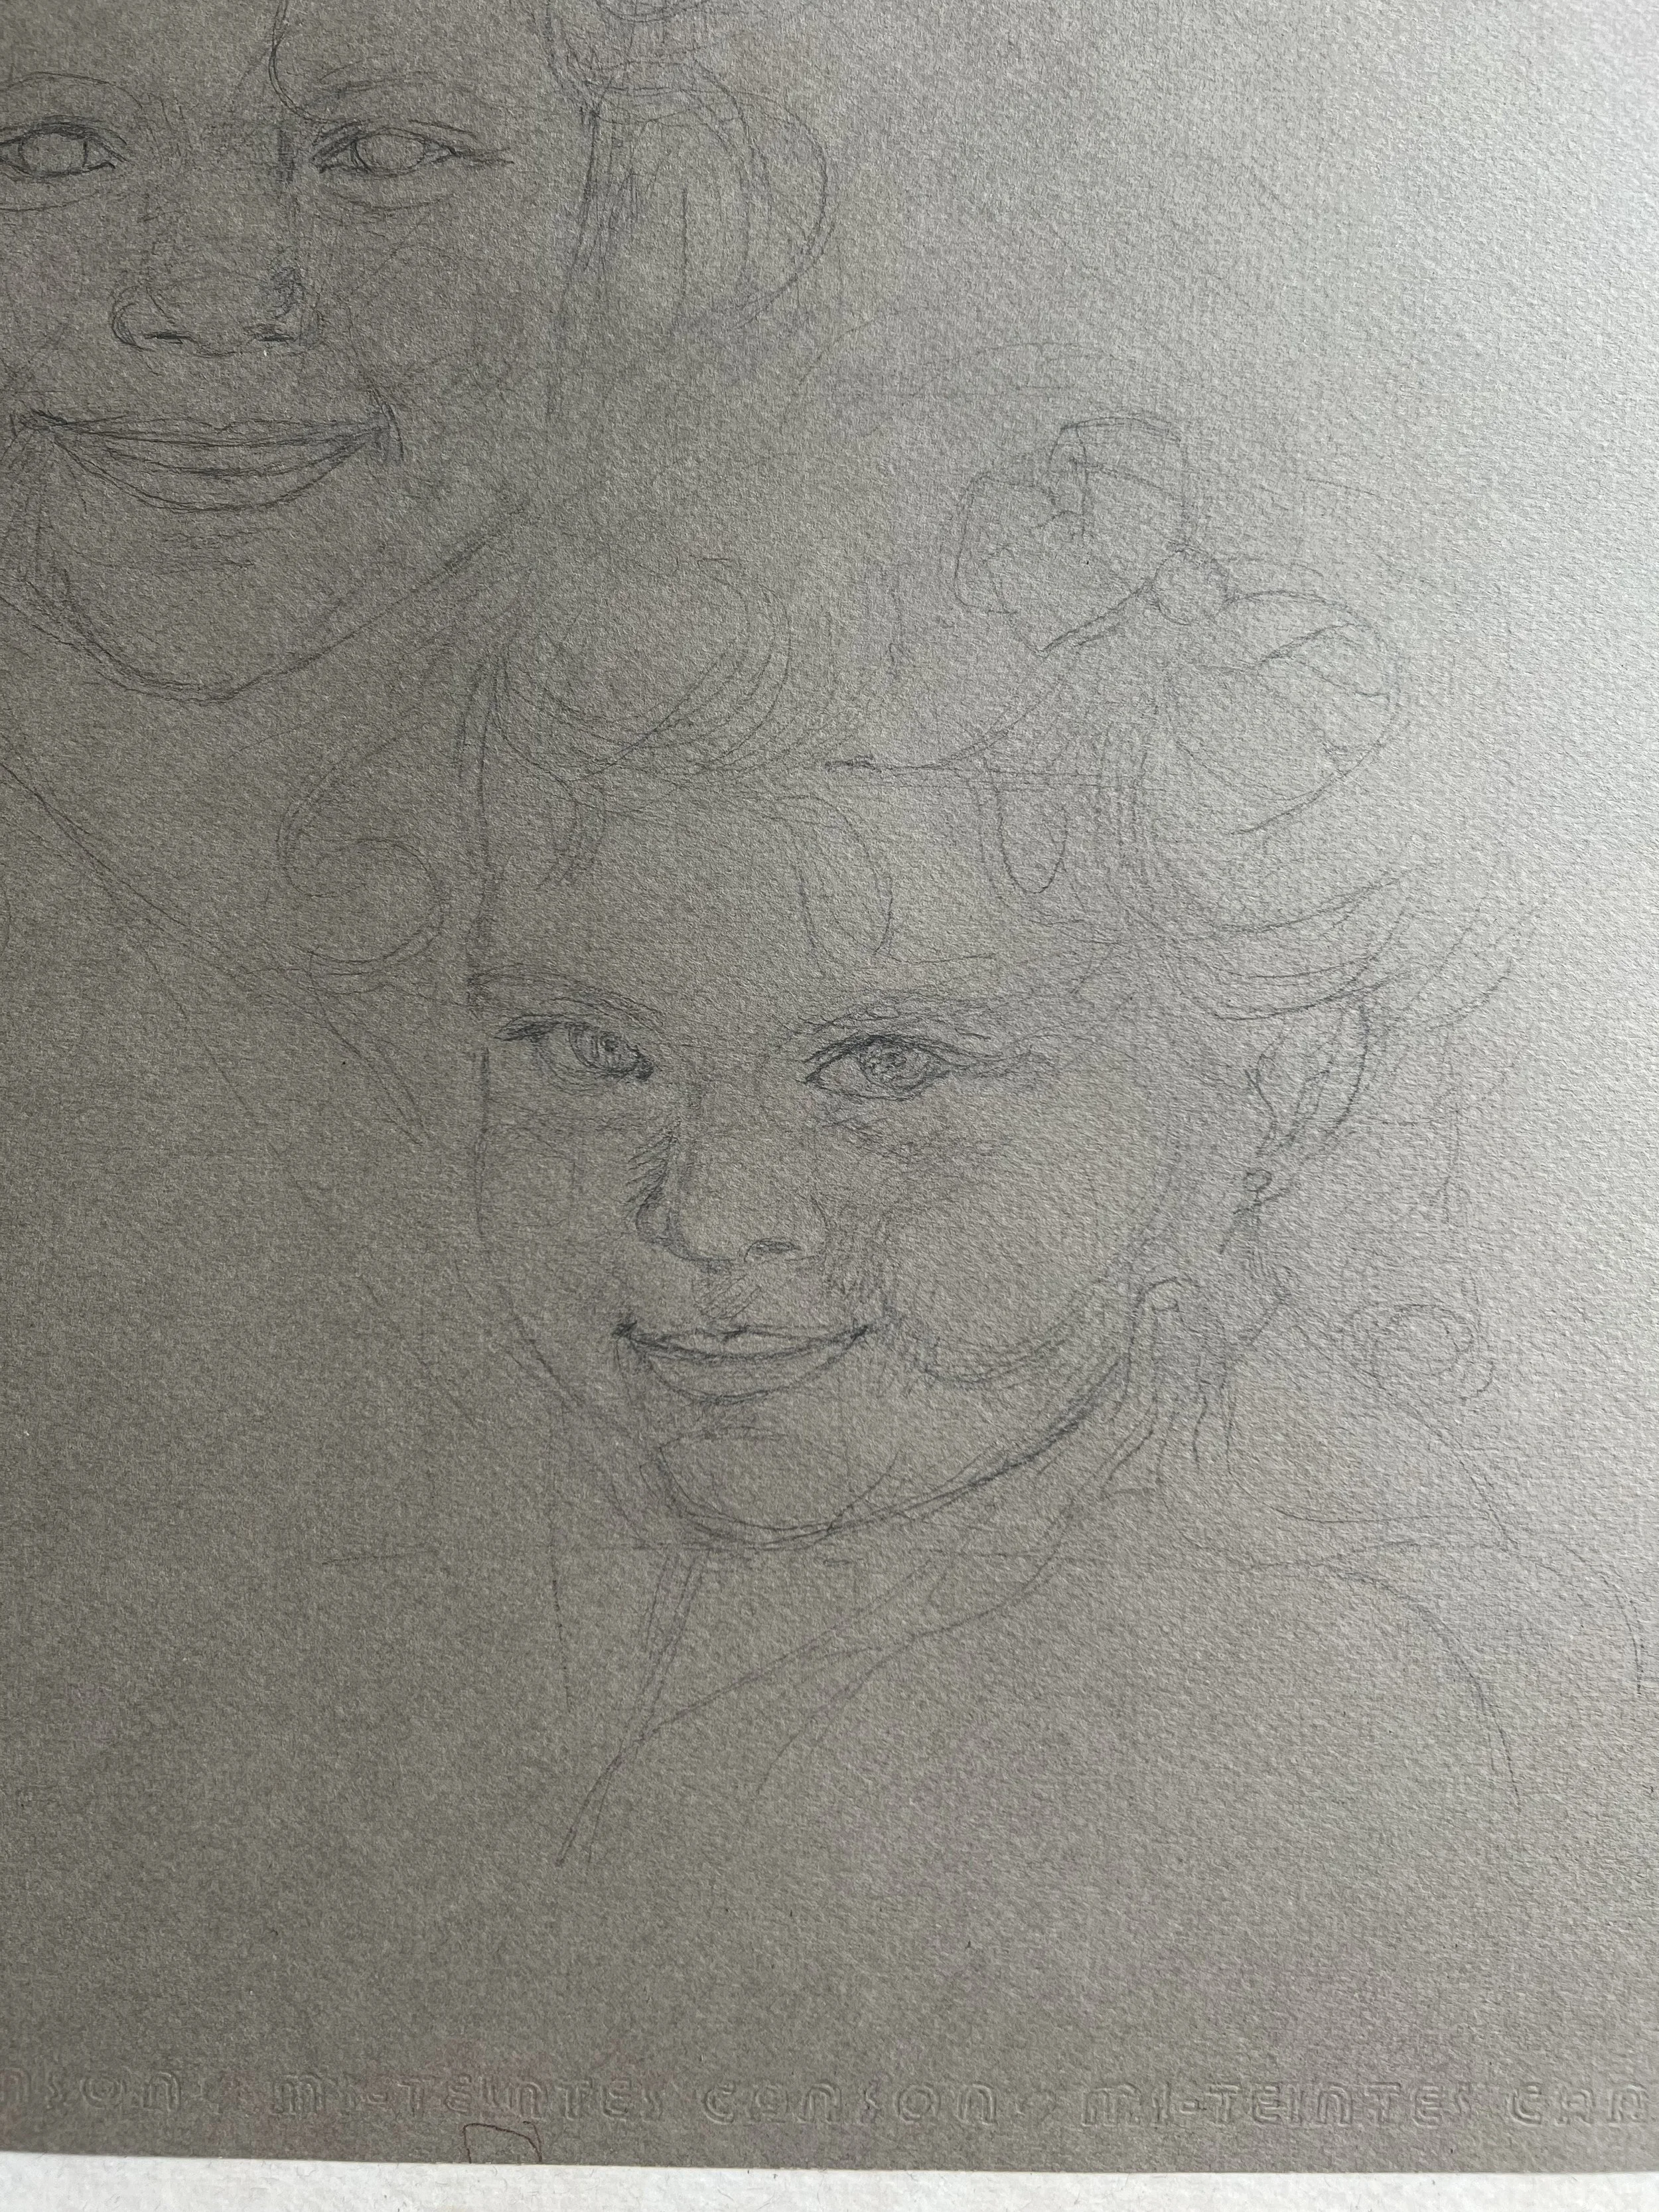
Sharp pastel portrait
This blog post is about creating the Sharp pastel portrait! It shows some behind the scenes photos of the sketching process and how the process of pastel portraits works start to finish.
To begin sketching a portrait, the artist typically outlines the basic shapes of the subject's face using light, loose strokes. This step helps establish the proportions and placement of facial features. Next, more defined lines are added to capture the details such as the eyes, nose, mouth, and ears. The shading process follows, focusing on light and shadow to create depth and realism. Artists may use various techniques like hatching and cross-hatching to render texture and form. Finally, refining touches are made to enhance the likeness and expression of the portrait before considering it complete.
When adding color to pastel portraits, it's crucial to use a light touch to avoid overwhelming the delicate nature of the medium. Begin by selecting a limited color palette that complements the subject's features and the overall mood of the piece. Layer colors gradually, starting with lighter hues and building up to darker tones for depth and dimension. Blending is key in achieving a smooth transition between colors and creating a soft, ethereal effect. Remember to preserve the luminosity of the pastels by using fixatives sparingly and strategically. By mastering the balance of color application, artists can enhance the subtle beauty of pastel portraits while maintaining their gentle allure.


